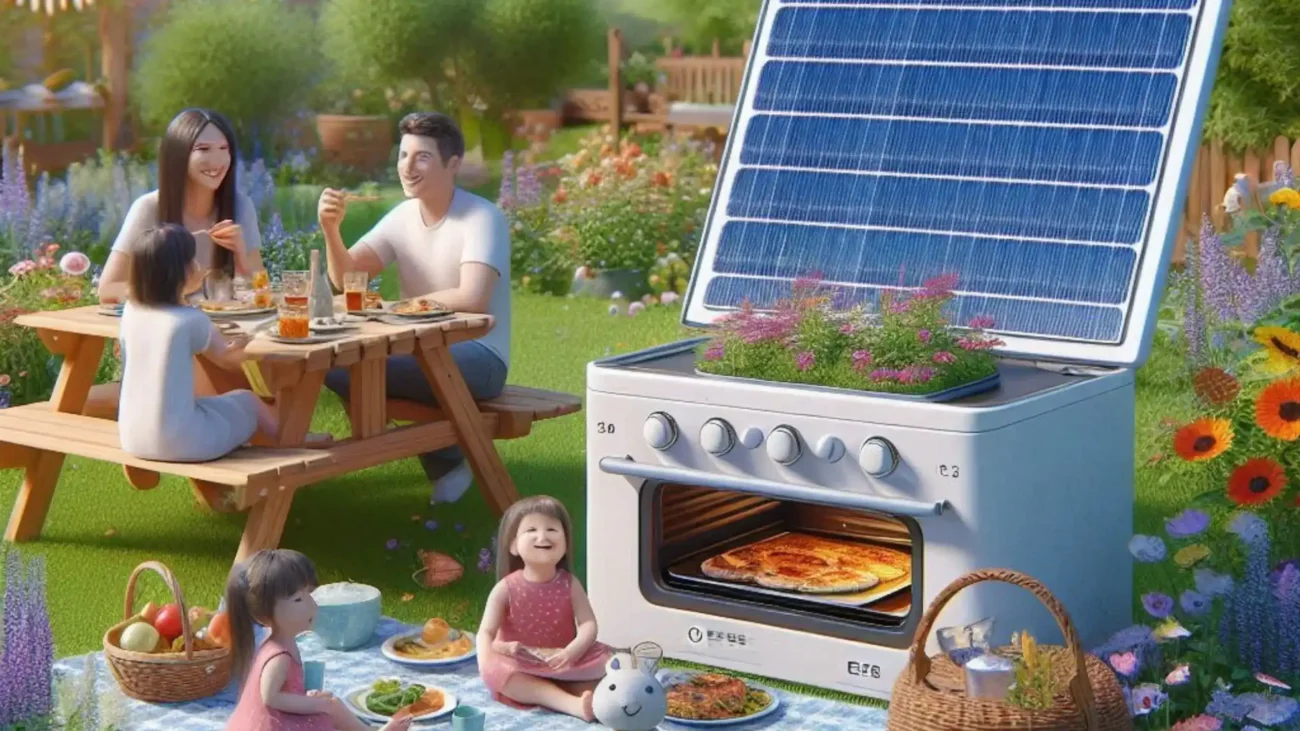
Harnessing the power of the sun to cook food is not only an eco-friendly alternative but also a fascinating project that demonstrates the principles of solar energy. In this comprehensive guide, we will walk you through the step-by-step process of building your very own solar oven. This DIY project is perfect for educational purposes, camping trips, or simply reducing your carbon footprint.
In This Post
Understanding the Basics of a Solar Oven
A solar oven, also known as a solar cooker, uses sunlight to heat, cook, or pasteurize food or drink. Unlike conventional ovens, a solars oven doesn’t rely on electricity or gas, making it an excellent choice for sustainable living. The primary components of a solar ovens include a reflective surface to concentrate sunlight, an insulated box to retain heat, and a transparent cover to allow sunlight to enter while trapping heat inside. Solar Gadget
Materials You Will Need
Before diving into the construction process, gather the following materials:
- Cardboard box (preferably with a lid)
- Aluminum foil or reflective Mylar
- Black construction paper
- Plastic wrap or a large, clear plastic bag
- Non-toxic glue or tape
- Scissors
- Ruler
- Pencil
- Thermometer (optional)
- Oven-safe cooking pot or dark-colored cooking pan

Step-by-Step Guide to Building a Solar Oven
Step 1: Preparing the Box
- Choose the Right Box: Select a sturdy cardboard box with a lid. The size of the box can vary, but a medium-sized box is ideal for most cooking needs.
- Cut the Lid: If your box has a lid, cut a flap on the top of the box, leaving one side attached. This flap will act as the reflector.
- Line the Box: Line the inside of the box and the underside of the flap with aluminum foil, shiny side out. Ensure that the foil is smooth and free of wrinkles to maximize reflectivity. Solar Gadget Reviews
Step 2: Creating the Reflector
- Measure and Cut: Measure the dimensions of the flap and cut a piece of aluminum foil to match. Secure the foil to the flap using glue or tape.
- Adjust the Angle: To maximize sunlight capture, the flap should be adjustable. You can use a ruler or stick to prop the flap at an optimal angle that reflects the most sunlight into the box.
Step 3: Insulating the Oven
- Add Insulation: To retain heat, line the bottom and sides of the box with an additional layer of cardboard or insulating material. This helps keep the heat inside the oven.
- Black Surface: Cover the inside bottom of the box with black construction paper. Black absorbs more heat, increasing the oven’s temperature.
Step 4: Creating the Transparent Cover
- Plastic Wrap Cover: Cut a piece of plastic wrap or use a clear plastic bag to cover the opening of the box. Secure it tightly to ensure no heat escapes. Solar Gadget Blog
- Double Layer: For better insulation, use a double layer of plastic wrap, leaving a small gap between the layers to trap more heat.
Step 5: Cooking with Your Solar Oven
- Preheating: Place your solar oven in a sunny spot and allow it to preheat for about 30 minutes. The optimal time for solar cooking is when the sun is at its highest point, typically between 10 a.m. and 2 p.m.
- Placing the Food: Use an oven-safe cooking pot or a dark-colored pan, as dark colors absorb heat more efficiently. Place the food inside the pot and cover it with a lid.
- Positioning: Place the pot in the center of the solar oven. Adjust the reflector flap to direct as much sunlight as possible into the oven.
- Cooking Time: Cooking times will vary depending on the food and the intensity of the sunlight. As a general guideline, solar ovens can reach temperatures of 200°F to 300°F (93°C to 149°C), which is sufficient for baking, roasting, and slow cooking.

Tips for Successful Solar Cooking
- Optimal Sunlight: Ensure your solars oven is positioned to capture the maximum amount of sunlight. Adjust the reflector periodically to follow the sun’s movement.
- Use a Thermometer: If possible, use an oven thermometer to monitor the temperature inside your solar oven.
- Dark Cookware: Dark, thin-walled pots and pans are more effective at absorbing heat compared to shiny or light-colored ones.
- Weather Conditions: Solar cooking works best on clear, sunny days. On cloudy days, the efficiency of the solar oven will be significantly reduced. Solar Gadget Guides
Advantages of Using a Solar Oven
- Eco-Friendly: Solars ovens use renewable energy from the sun, reducing reliance on fossil fuels and lowering your carbon footprint.
- Cost-Effective: Once built, a solars oven requires no additional fuel or electricity, making it a cost-effective cooking solution.
- Portable: Lightweight and easy to transport, solar ovens are perfect for outdoor activities like camping and picnicking.
- Safe Cooking: Solar ovens eliminate the risk of fire and reduce the chance of burns since they operate at lower temperatures than conventional ovens.
Troubleshooting Common Issues
- Low Temperature: Ensure the reflector is correctly angled to maximize sunlight concentration. Check for gaps in the plastic wrap that might be allowing heat to escape.
- Uneven Cooking: Rotate the food periodically to ensure even exposure to heat. Make sure the oven is positioned directly under the sun.
- Extended Cooking Time: On cooler days or when the sun is not as strong, cooking times will be longer. Plan meals accordingly and allow for extra time.

Experimenting with Recipes
Solar ovens are versatile and can be used to prepare a wide range of dishes. Here are a few ideas to get you started:
- Baked Potatoes: Wrap potatoes in foil and place them in the solar oven for a few hours until tender.
- Rice and Beans: Cook rice and beans in a covered pot for a hearty and nutritious meal.
- Cookies and Brownies: Yes, you can even bake sweet treats in a solar oven! Use dark baking sheets for best results.
- Dehydrating Fruits: Slice fruits thinly and place them in the solar oven for homemade dried snacks.
Conclusion
Building and using a solar oven is a rewarding and educational project that showcases the power of renewable energy. Not only does it provide a sustainable cooking method, but it also offers a unique opportunity to experiment with solar energy in a practical way. Whether you’re an outdoor enthusiast, a sustainability advocate, or someone looking to reduce your energy consumption, a solar oven is a valuable addition to your cooking arsenal.
FAQs
What is a solar oven?
A solar oven is a device that uses sunlight to cook food, eliminating the need for conventional fuel sources. It typically consists of reflective panels that concentrate sunlight into an insulated cooking chamber, generating heat to cook the food. Solar ovens are eco-friendly, energy-efficient, and ideal for outdoor cooking in sunny climates.
What materials are needed to make a solar oven?
To make a solar oven, you need the following materials:
A cardboard box
Aluminum foil
Plastic wrap
Black construction paper
Insulating material (such as newspaper)
Tape or glue These materials help to reflect, absorb, and retain heat, allowing the solar oven to cook food using sunlight.
How does a solar oven work?
A solar oven works by converting sunlight into heat energy. Reflective surfaces, like aluminum foil, concentrate sunlight into a cooking chamber. The chamber, often lined with black material, absorbs the heat. Transparent covers, such as plastic wrap, trap the heat inside, raising the temperature sufficiently to cook food. Insulation helps retain the heat for efficient cooking.
How long does it take to cook food in a solar oven?
Cooking food in a solar oven typically takes between 1 to 4 hours, depending on factors such as the type of food, the solar oven’s design, and the intensity of sunlight. On a sunny day, simple foods like hot dogs might take about an hour, while larger meals like casseroles or roasts can take several hours to cook thoroughly.
Can I use a solar oven on cloudy days?
Using a solar oven on cloudy days is challenging because it relies on direct sunlight to generate heat. While it may still work under partly cloudy conditions, cooking times will be significantly longer, and the oven might not reach the necessary temperatures for safe cooking. For best results, use a solar oven on clear, sunny days.
What types of food can I cook in a solar oven?
You can cook a variety of foods in a solar oven, including:
Vegetables (e.g., potatoes, carrots, corn)
Grains (e.g., rice, quinoa, barley)
Legumes (e.g., beans, lentils)
Meat (e.g., chicken, fish, beef)
Baked goods (e.g., bread, cookies, cakes)
Soups and stews
Casseroles and one-pot meals Solar ovens are versatile and can accommodate most recipes that require slow, even cooking.
Is it safe to use a solar oven?
Using a solar oven is generally safe when following proper instructions. Ensure food reaches a safe temperature for consumption to prevent foodborne illness. Handle hot surfaces with care to avoid burns. Supervise the oven during use, especially around children, to ensure safety.
How can I increase the efficiency of my solar oven?
To enhance your solar oven’s efficiency, optimize its placement for maximum sunlight exposure, improve insulation with reflective materials, clean and adjust reflective surfaces, use dark cookware, preheat when possible, seal gaps to minimize heat loss, and experiment with different designs to find the most effective configuration.
Can I build a solar oven with children?
Yes, you can build a solar oven with children, making it a fun and educational project. Supervise them closely, use safe materials, and involve them in simple tasks like cutting cardboard or applying foil. It’s an excellent opportunity to teach about renewable energy and sustainability while fostering creativity and teamwork.
Where can I use a solar oven?
You can use a solar oven in various locations, including:
Backyards: Ideal for outdoor cooking during sunny days.
Camping Sites: Provides an eco-friendly alternative for preparing meals.
Beaches: Convenient for picnics and beach outings.
Parks: Perfect for enjoying outdoor gatherings and events.
Off-grid Living: Offers a sustainable cooking solution in remote areas without electricity.
